How to Record Your Own Sound: A Beginners Guide to Field Recording
Recording your own sounds is one of the most powerful ways to elevate your projects. Whether you are designing audio for games, films, or immersive media, original recordings give you complete creative control, unique textures, and the freedom to build a personal sound library. In this guide, we will cover why field recording matters, essential gear, techniques, organization, and processing tips to make your recordings truly usable.
Why Recording Your Own Sounds Matters
Pre made sound effects can be convenient, but they also come with limitations. You may find yourself using the same stock sounds that appear in many other projects, which makes it difficult for your work to stand out. Recording your own audio opens up creative possibilities and gives you complete control over the sonic identity of your project.
Reasons to record your own sounds
• You get unique sounds that are not available anywhere else
Capturing your own recordings means no one else has the exact same material. Even something as simple as recording footsteps in your backyard or doors in your own home produces results that are one of a kind. That uniqueness gives your work character and keeps it from sounding generic.
• Custom recordings allow you to match the exact tone, atmosphere, or action you need
With stock sounds you are limited to what someone else has recorded. When you capture your own audio, you can control the performance, the environment, and the microphone choice. This allows you to tailor every sound so it perfectly fits the mood or moment you are working on.
• Building your own library gives long term value and saves time in future projects
Every recording session becomes an investment. A single day of recording can provide dozens or even hundreds of usable sounds that can be archived, tagged, and reused later. Over time you build a personal sound library that reflects your style and speeds up your workflow on future projects.
Original recordings also help maintain consistency across your work. Instead of pulling from random sources, you are crafting a cohesive collection of sounds that naturally fit together. This consistency strengthens the overall audio identity of your projects and sets your work apart from others.
Essential Gear for Field Recording
Starting your journey in field recording does not require an expensive studio. With a few carefully chosen tools, you can begin capturing high quality sounds right away. Here are some of the most common options and what makes them valuable.
Recorders
• Zoom F3
A reliable and approachable starter recorder with excellent preamps and portability. It is compact enough to carry anywhere, which makes it perfect for beginners who want quality without a complicated setup.
• Sound Devices MixPre II Series
This is considered a professional level option and is well known for superb clarity and extremely low self noise. It is especially powerful for recording ambience and very detailed sources where every nuance matters.
• Handheld recorders and smartphones
These are fantastic for capturing ideas or spontaneous sounds when inspiration strikes. Even a smartphone microphone can be useful when paired with the right app and a careful approach to placement.
Microphones
• Dynamic microphones
Durable and less sensitive, they are excellent for loud sources and outdoor recording where conditions are less controlled.
• Condenser microphones
Highly sensitive and detailed, these microphones are best for capturing ambience, room tone, and quiet sounds that require precision.
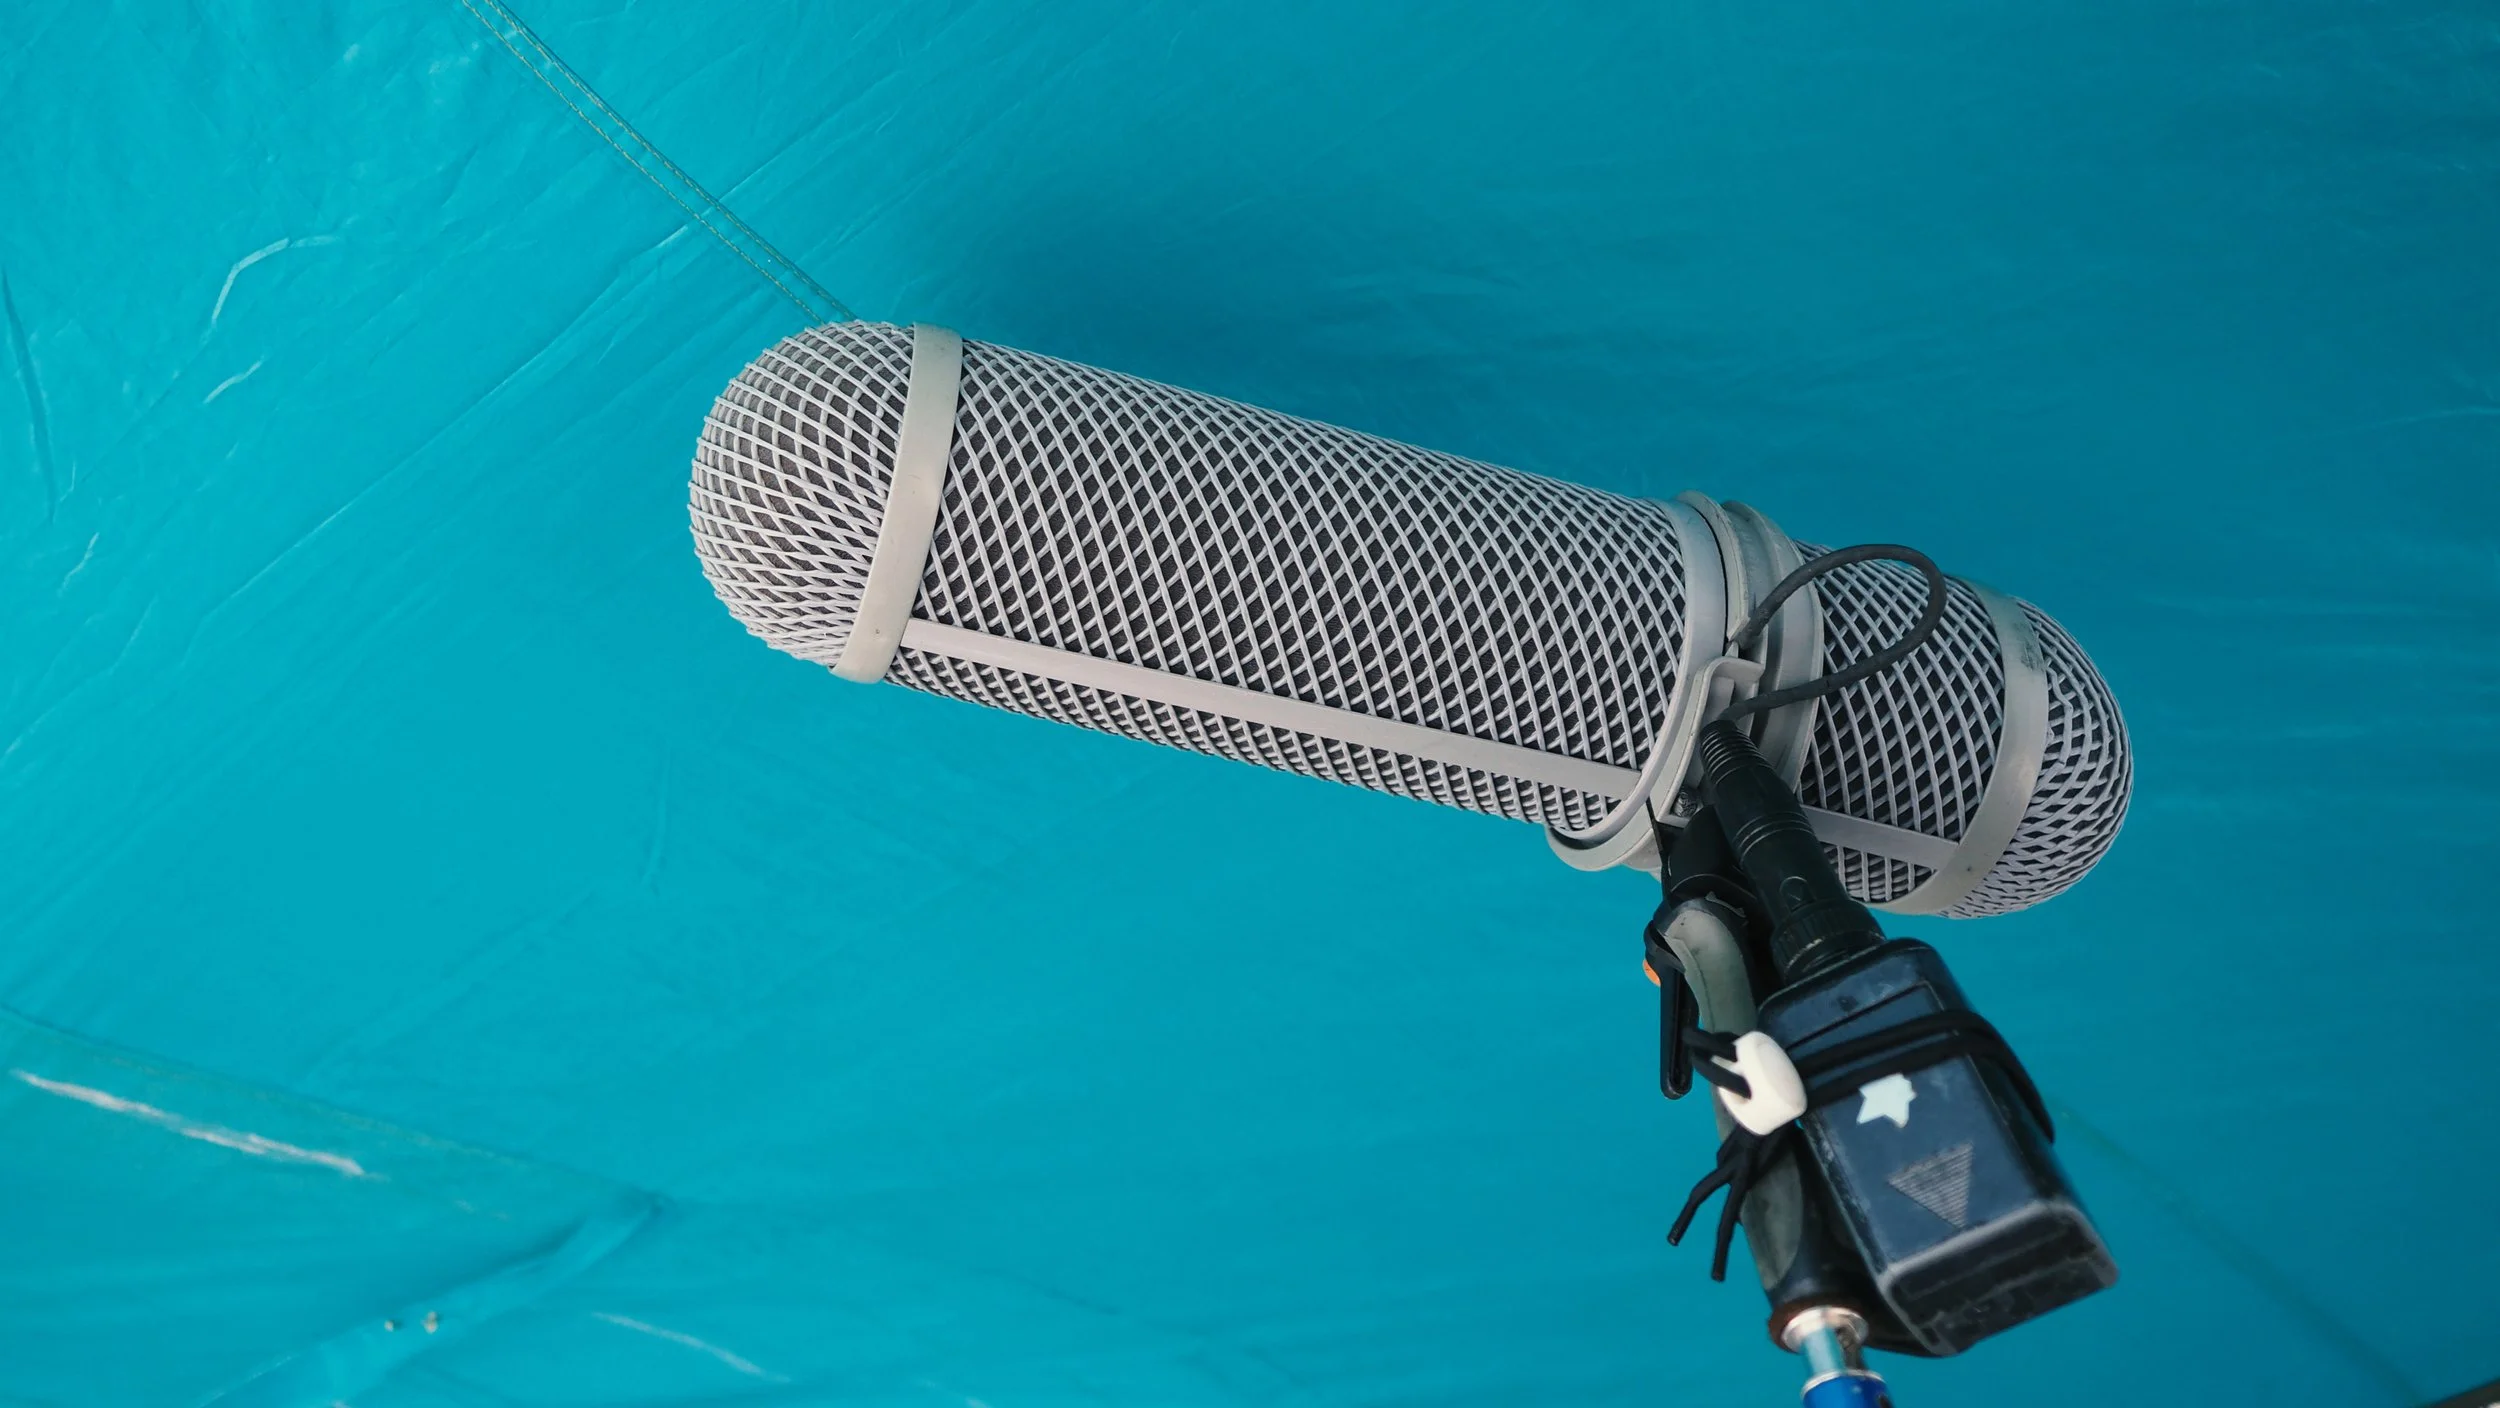
• Shotgun microphones
Designed to be very directional, shotgun microphones are ideal for recording a specific source while rejecting unwanted noise from the sides. They are often used for film, dialogue, or isolating a subject in noisy environments.
• Stereo and mono recording
Stereo captures width and a sense of space, which makes it the best choice for ambiences and environments. Mono captures a single source directly, which is useful for sound effects that will be positioned later in a mix. Both have their place, and many recordists use a combination depending on the project.
Other considerations
• Low self noise is especially important for ambience or delicate recordings where quiet details need to be preserved
• High quality preamps help maintain clean, transparent sound and reduce the need for heavy processing later
• Accessories such as windshields, shock mounts, and quality cables can make a big difference by reducing wind rumble, handling noise, and interference
Picking the Right Environment
Field recording is just as much about where you record as it is about how you record. The location you choose will shape the character of the sound as much as the microphone or recorder you use. Being intentional about the environment makes all the difference between a noisy, cluttered recording and one that feels clear and usable.
Things to consider when choosing a recording environment
• Scout locations for low background noise
If you are recording quiet ambiences, such as forests or subtle room tones, background noise will make or break the recording. Take time to listen to the space before you begin and choose areas that are naturally quiet.
• Listen for unwanted sounds
Traffic, electrical hum, fans, or distant voices can easily sneak into your recordings. These small interruptions are sometimes only noticeable when you review the files later, so it helps to monitor carefully with headphones while recording.
• Pay attention to the time of day
Environmental conditions shift throughout the day. Wind tends to pick up in the afternoon, wildlife may be most active around dawn or dusk, and human activity varies between early morning and late evening. The timing of your session can have a big impact on the soundscape you capture.
• Create controlled recording spaces when needed
Not every recording has to be outdoors. You can build a controlled environment indoors by using blankets, carpets, or other soft materials to reduce reflections. This setup is particularly useful for clean foley recordings or sources that you plan to manipulate later in post production.
Choosing the right environment gives your recordings a strong foundation and reduces the need for heavy processing later. It also allows you to focus more on creative choices rather than fighting against unwanted noise.
Recording Techniques
Good equipment and a quiet location set the stage, but your approach while recording is just as important. These techniques will help you capture clean, flexible, and professional-quality audio that holds up in post production.
Key recording practices
• Monitor your levels at all times
Clipping and distortion cannot be fixed later. Use headphones and watch your meters to make sure peaks are not pushing too high. Leave some headroom so unexpected transients do not ruin a take.
• Work with the highest practical bit depth and sample rate
Recording at higher resolutions gives you more room for editing, stretching, and layering without degrading the sound. Even if the final project uses lower settings, starting with a clean, detailed file makes post production much smoother.
• Capture multiple takes and perspectives
The same sound can change dramatically depending on distance, angle, or microphone choice. Record more than one variation so you have options when editing. What feels unnecessary in the moment often becomes valuable later.
• Allow time for ambience recordings
When recording environmental soundscapes, let the recorder run longer than you think you need. Extended takes give you more material to loop, layer, or edit into seamless background textures. A few extra minutes on location can save hours in post production.
Recording is a balance of preparation and patience. The more intentional you are while capturing sounds, the less work you will need to repair or replace them later.
Processing Your Recordings
Even well recorded audio benefits from thoughtful processing. Post production techniques bring your recordings to a professional level, ensuring they are polished, consistent, and ready to drop into any project.
Core processing steps
• Apply denoising when needed
Background hiss, hum, or environmental noise can distract from the main source. Subtle noise reduction tools help clean up recordings while keeping the natural character intact.
• Shape with EQ and compression
Equalization allows you to highlight the best qualities of a sound or remove unwanted frequencies. Compression helps control the dynamic range, smoothing out levels so every detail remains audible without sudden spikes or dips.
• Normalize and use fades for balance
Normalization sets an even overall volume, making it easier to mix recordings with other sounds. Smooth fade-ins and fade-outs prevent abrupt cuts and help integrate clips naturally into your timeline.
• Experiment with layering and editing
Combining multiple takes or processing passes can produce rich and complex textures. Layering also gives you more creative flexibility, whether you want a subtle enhancement or a bold transformation.
Processing is where raw recordings become versatile assets. With careful adjustments, you elevate your sounds from simple captures to professional elements that strengthen the impact of your work.
Organizing Your Sound Library
A good organization system is essential for efficiency and long term use. Without structure, even the best recordings can quickly become lost in clutter, making it difficult to take advantage of the material you worked hard to capture.
Practical approaches to organizing your recordings
• Categorize by type, environment, or source
Create folders for footsteps, ambiences, impacts, mechanical noises, or creature sounds. Grouping by theme or use case keeps your library intuitive and easy to browse.
• Use descriptive file names
Include details such as location, source, and date in the filename. For example, “forest_birds_spring_morning_2025.wav” is far more useful than a generic “track01.wav.”
• Maintain consistent metadata
Tagging files with keywords, descriptions, and categories ensures you can search and find sounds quickly, especially as your library grows.
• Build your own reusable library
Think long term. Every recording session adds to a growing collection that can be reused across projects. Over time, you can develop a personal library that reflects your unique style and workflow.
A well organized sound library saves time, inspires creativity, and ensures you can quickly find the perfect sound when you need it. Instead of searching endlessly, you spend more time creating and less time managing files.
Building Your Own Sound Library
Once you have recordings, the next step is to organize and develop them into a personal sound library. This library becomes your creative toolbox, always ready for use in future projects.
Key steps for building your library
• Include a variety of categories and multiple takes
Recordings of different sources, environments, and variations of the same sound give you flexibility and ensure you always have options.
• Document any processing
Make notes on EQ, compression, or other effects applied to the recordings. This helps you remember what has been altered and keeps the editing process clear when revisiting sounds later.
• Design custom effects and atmospheres
Use your raw material to build unique soundscapes, complex textures, or signature sound effects. Over time, this allows you to create an extensive and distinctive collection.
Conclusion
Recording your own sounds gives you creative control, originality, and long term value. By choosing the right gear, paying attention to the recording environment, capturing carefully, processing intelligently, and organizing with intention, you can create a personal library that elevates every project.
Whether it is subtle ambiences, sharp impacts, or layered atmospheres, every recording adds to a growing resource that is entirely your own. Field recording opens a world of sonic possibilities and gives your work an identity that cannot be replicated by stock sounds. With each session, you are not only building a library but also shaping your creative voice.


